T-shirt memory quilt
Making a memory quilt has been on my to-do-list for a long time. Planning this quilt, I have put aside my son's T-shirts while he grows up. NOW is the right time to make a memory quilt as I have collected enough T-shirts of my son.
It is a nice way of using these old, small T-shirts since my son gets older. Making a memory quilt should be on every quilter's list. As time passes quickly, it will be nice remembering these days when the kids were small. I took some photos during the process so that it may help you, too.
Here we go!
To start working, you need a pile of t-shirts. As I have mentioned I kept my son's T-shirts as they got smaller. There are T-shirt quilt kits which make the work easier but I do not have one. So all you need is some creativity. Instead of T-shirt Transformation ruler, I prepared a template of cardboard. You can prepare the template according to the size of the T-shirts. My template is 10"x10"
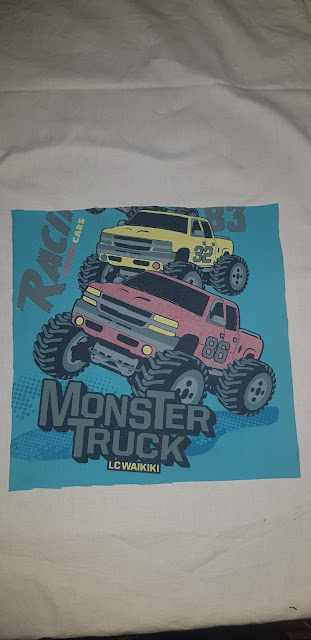
The first thing to do is to cut the front piece of the T-shirt and if needed the back also. I used the backs of the T-shirts, as well.
Adding some interfacimg to the back of the T-shirt is a good idea so it doesn't stretch while sewing. Cut inrerfacing 1" larger than the T-shirt piece size. Center the interfacing over the wrong side of the T-shirt and press with iron to make it stick.
Cutting time. Put the template on the T-shirt, mark the places to be cut, place the ruler on edge if needed and cut along the edge of the ruler.
The first T-shirt piece is cut. Since the interfacing is adhered to the back, you do not have to worry about any streching. Repeat this process for the other T-shirt pieces.
Once you have cut all your T-shirts, you are ready to start making the quilt top. Decide the size you want to make. Mine is lap size 60"×75"
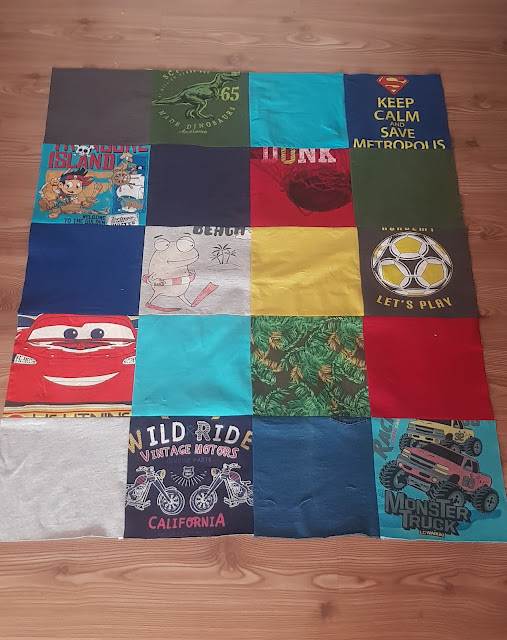
Playing around with your T-shirt pieces, decide your desisn layout. My quilts design belongs to my son. He says since these are his T-shirts he will decide the layout. That was okey for me.
This is what we have planned. The next step is sewimg them together. You go row by row and then you sew the rows together.
The quilt top is not ready yet. I cut pieces of fabric 10" wide and added a frame around the T-shirts.
Top is ready now. You quilters know what is next; basting, quilting and binding before completing the quilt.


